


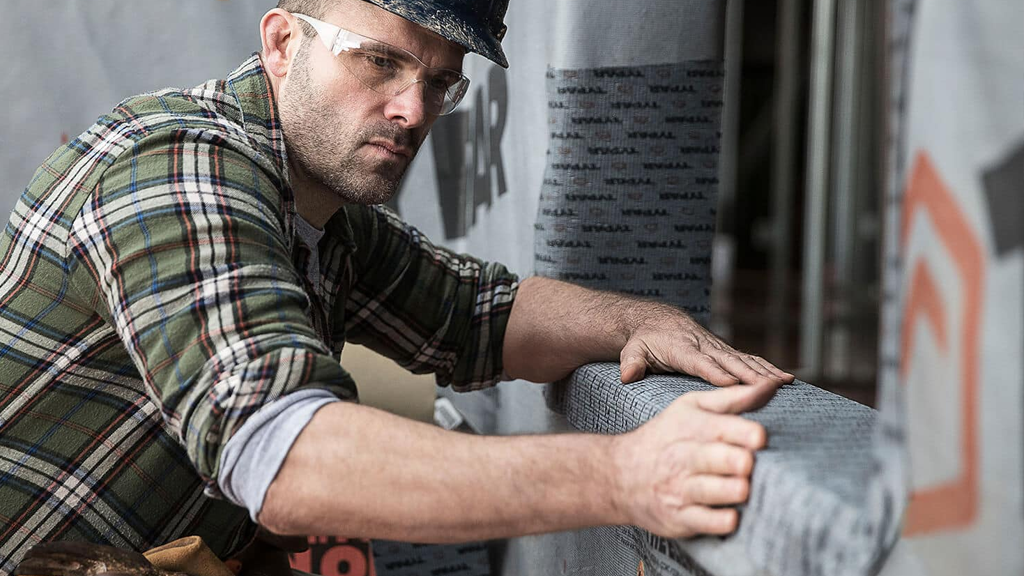
Water: Calming and refreshing when you’re relaxing at the lake or seaside, potentially catastrophic when it’s trapped inside the walls of your home.
When water gets into your wall system, conditions are ripe for the development of mold, mildew, and rot. Powered by fungus that thrives in dampness and humidity, this nasty trio causes everything from musty odors to respiratory issues and allergies. Some molds even produce harmful or deadly toxins while the damage from fungal decay can compromise a home’s structural integrity.
Unfortunately, water can find its way into your walls through a multitude of vulnerable areas that are necessary to your home’s design and construction. Common entry areas include window, door and vent openings, sill plates, corners, and joints. For additional penetration points, check out 10 Household Areas You Should Seal.
Fortunately, we have a defense against home water infiltration: Flashing, a thin waterproof membrane that creates a barrier and allows water to run off rather than seep in.
BONUS: In addition to preventing water from getting into your home, flashing blocks air and dust for added comfort, energy efficiency, and a cleaner home environment.
Self-Adhering Flashing
With all the ill effects that unwelcome H2O can bring into a home, it’s a relief that we can effectively ward it off with a product that’s as easy to use as self-adhering flashing.
It’s literally peel and stick waterproofing: Once the release paper backing is removed, the flashing membrane is pressed into place and sticks without the need for fasteners or additional adhesive.
Applying pressure during application is critical: It forces the adhesive to spread or "wet out," forming a strong bond to the substrate—as well as sealing the adhesive around any fasteners or other protrusions.
Applying Flashing
The steps to install self-adhering flashing are simple:
- Clean and dry the application surface. Dirt or debris can prevent the flashing from adhering properly.
- Measure and cut the flashing using a straight edge and a sharp blade for a clean, precise cut.
- Peel off the release paper. Most flashing has a split backing to facilitate application and allow you to expose and install half the flashing before, and half after, other components like house wrap or felt.
- Align the flashing, making sure it’s straight and properly positioned.
- Press the flashing firmly onto the surface, starting at the center and working outwards to remove any air pockets or wrinkles.
- Run a roller, plastic squeegee, or similar tool over the flashing to spread out the adhesive for a flat, tight seal.
Always consult the instructions provided with your specific product.
Finally, remember to follow the Shingle Principle:
Install your flashing so that all laps shed water over the top of the layer below, directing the water away from the home, never into the structure.
Now that we’ve got the basics of flashing down, let’s take a look at a few different types.
1. Asphalt Flashing
Like the name says, the adhesive on this type of flashing is sticky asphalt. It’s typically layered on a fiberglass or polyethylene base. On the plus side, it’s relatively inexpensive and generally flexible enough to be molded to fit around corners and joints.
On the negative side, asphalt flashing is susceptible to cold and can become brittle, even cracking over time. In areas that see plummeting temperatures, this breakdown can compromise its performance making it difficult to install in the cold and resulting in a less effective barrier in the long term.
2. Rubberized Asphalt Flashing
This flashing is made from asphalt that’s been modified with rubber polymers to provide greater flexibility, conform well to irregular surfaces, and accommodate movement as well as expansion caused by fluctuating temperatures once installed.
Be aware of contact with materials containing plasticizing chemicals for pliability, such as polyurethane sealants, certain roofing membranes, and plasticized PVC window nailing flanges (for example, on arched or rounded windows). These can react with rubberized asphalt and compromise its performance. If you’re unsure if a product in contact contains plasticizers, check with the manufacturer before applying this type of flashing.
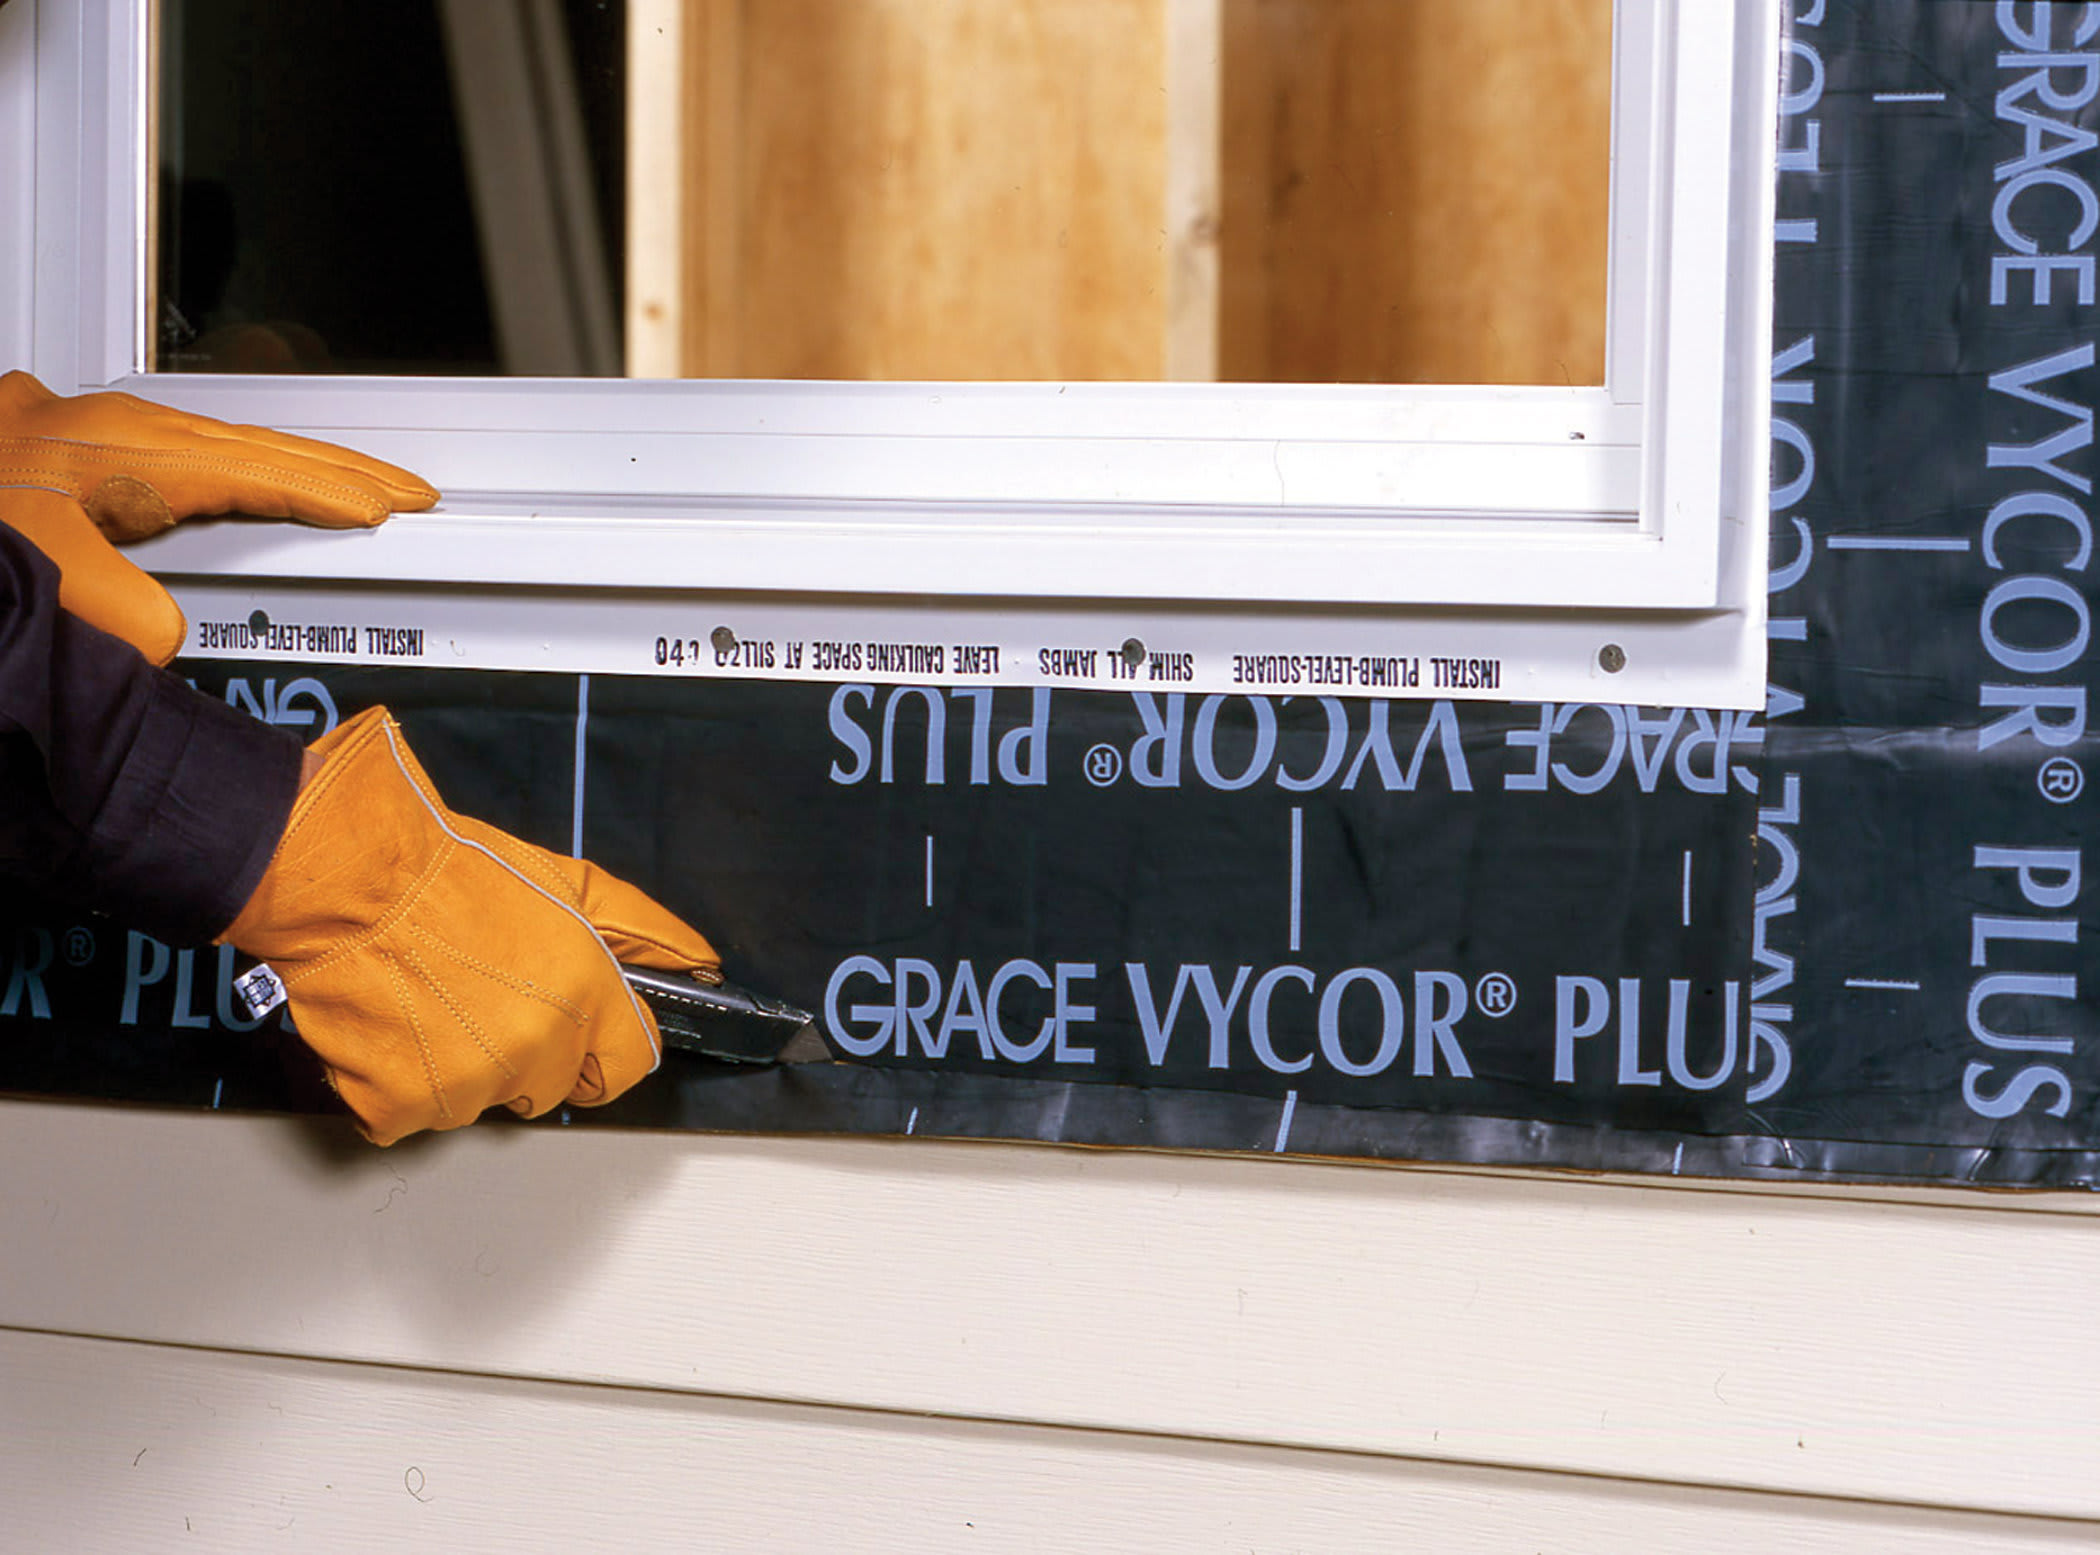
Example: Grace Vycor Plus
A DIY Home Center best seller, Vycor Plus self-adhering flashing is made of a durable, cross-laminated, high-density polyethylene sheet backed by an aggressive, rubberized asphalt adhesive. Together, they create a water and moisture barrier that stands up to weather extremes and UV radiation without degrading.
The rubberized asphalt seals around fasteners, preventing water from penetrating and reaching the substrate, and forms watertight laps, even at flashing seams.
Most sealants are chemically compatible with Vycor flashings when applied to the high-density polyethylene film component of the flashing. Some formulations may not be compatible with the adhesive layer, however. Always consult with the manufacturer if in doubt.
Grace VYCOR Plus Self-Adhering Flashing
VYCOR Plus has a few additional features that make it a popular choice:
- 6” and 12” intervals are clearly marked on the membrane for easy measurements during installation
- RIPCORD split release on-demand quickly exposes half the adhesive at a time when installing your flashing in conjunction with other components
- Free J-roller is included with 3-, 4-, and 6-pack rolls of VYCOR Plus Flashing (limited time offer)
3. Butyl Flashing
Butyl flashing is made from butyl rubber, a synthetic rubber with excellent adhesion, waterproofing, and sealing properties. This flashing is flexible, elastic, and durable over time without the concern of plasticizer incompatibility. Like rubberized asphalt flashing, it also has good resistance to UV radiation and temperature extremes.
Example: DuPont Tyvek FlexWrap EZ
DuPont Tyvek FlexWrap EZ creates an air- and watertight seal when installed around openings of all shapes and sizes. It’s ideal for flashing around the many smaller penetration points in your home, improving energy efficiency and protecting against water intrusion.

And it’s right-sized for the job. With a 2.75” width, FlexWrap EZ conforms easily around features like:
|
|
The 100% butyl adhesive can be applied over a wide range of building substrates including non-nailable sheathing materials, performs through temperature fluctuations, and withstands up to 270 days of UV exposure during construction.
More Butyl Flashing Options
DIY Home Center carries the best in high-quality butyl flashings. For more widths, applications, and manufacturers, check out these additional butyl options for your flashing projects:
DuPont Tyvek:
DuPont Tyvek Flashing Tape
DuPont Tyvek FlexWrap NF
DuPont Tyvek StraightFlash
Grace / GCP:
Grace VYCOR Pro Butyl Flashing 4” and 6”
Kimberly-Clark:
Kimberly-Clark Block-It Flashing Tape
Kimberly-Clark Block-It Flex Flashing Tape
Typar:
Typar Butyl Flashing Tape
Read 5 Things To Know About Typar Butyl Flashing
Typar Flashing Flex Butyl Tape
4. Block Polymer Flashing
Block polymer flashing uses a synthetic, thermoplastic adhesive that delivers an extremely strong bond along with resistance to temperature and chemical changes. If you’ll be applying flashing during harsh weather, block polymer is for you.
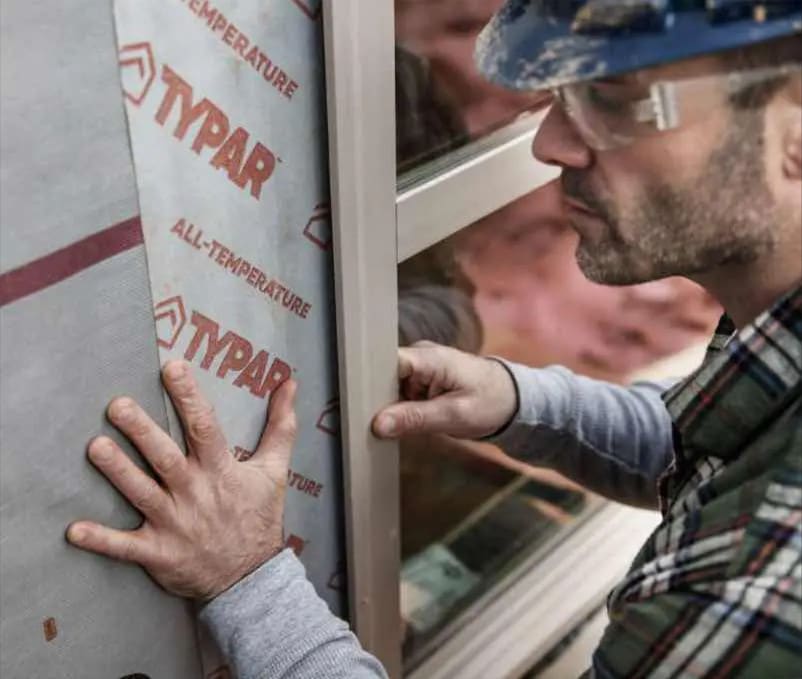
Example: Typar All-Temperature Flashing
From OSB, plywood, aluminum, and vinyl to home wrap, Typar All-Temperature Flashing provides maximum adhesion even in the most extreme conditions: It’s suitable for installation in temperatures as low as 0° F and stable up to 180° F.
Because self-adhering flashing requires the adhesive to spread out to bond to the substrate, the temperature during installation is significant. If it’s too cold, other adhesive formulations may be too stiff to flow well, resulting in peel off. At the opposite extreme, installation in intense heat can make an adhesive flow too much, affecting cohesion and causing the flashing to slide. Typar All Temperature Flashing tackles these less-than-ideal conditions in stride.
Typar Self-Adhering All-Temperature Flashing
TIP: Holding your flashing in place with staples during a cold weather installation, expecting warmer temperatures to make it stick better later on, does not work. Heat alone will not do the job: You need pressure during application to wet the adhesive into the surface: Get yourself a block polymer flashing.
Remember earlier when we mentioned drying the application surface as a first step in applying self-adhering flashing? Well, here’s a case where you can skip that part: Typar All-Temperature Flashing can be adhered to wet surfaces, too.
When Typar says, “Maximum adhesion,” they really mean it. We don’t envy anyone installing flashing in wet, sub-freezing, or scorching conditions, but it doesn’t have to hold up your job with this extreme-conditions champ.
Your Flashing Source
Keeping wall systems dry and interior environments safe and healthy is critical. Rely on DIY Home Center for the trusted flashing products you need to protect your structure and those who call it home.
For flashing questions from product selection to application, contact our experts via chat, phone, or email. They’re always here to help you along the way!